To configure your outgoing mail server for your Blueprint notifications, click Advanced Settings and then select Email Settings in the Admin Panel. In the Outgoing Mail Server section, enter values in the fields displayed.
To configure your outgoing mail server for your Blueprint notifications:
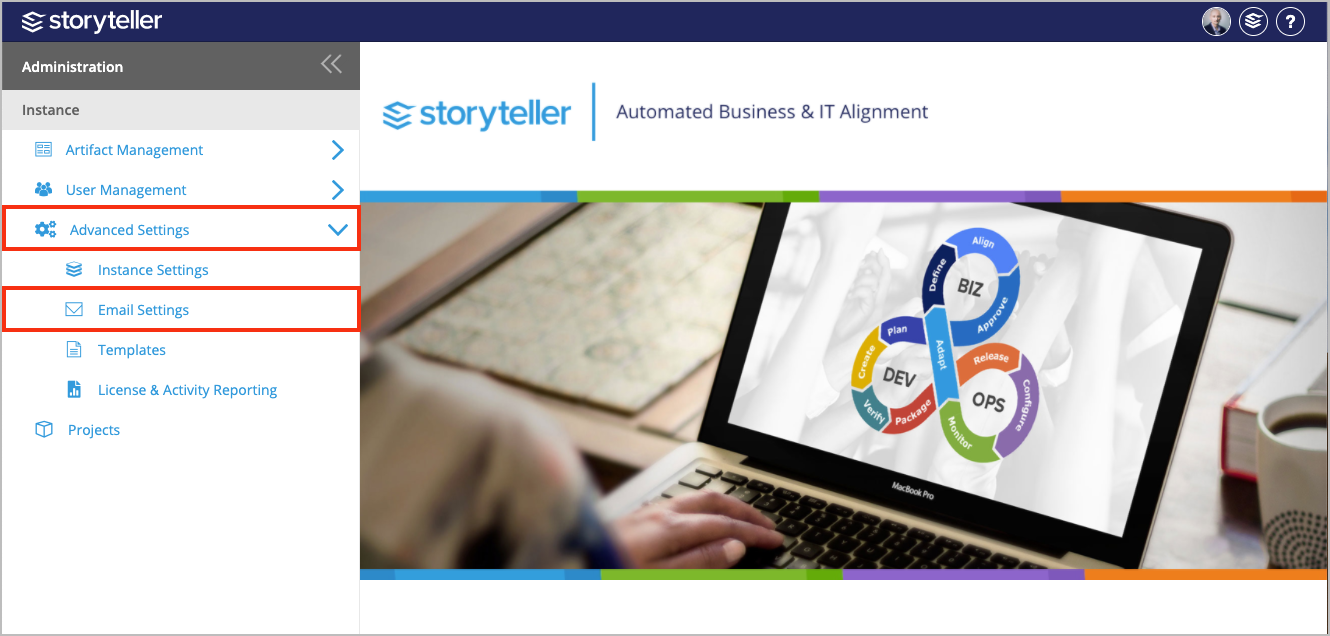
In the Administration Portal, click Advanced Settings and then select Email Settings in the side panel.For information on how to access the Admin Portal, see the About the Administration Portal article.
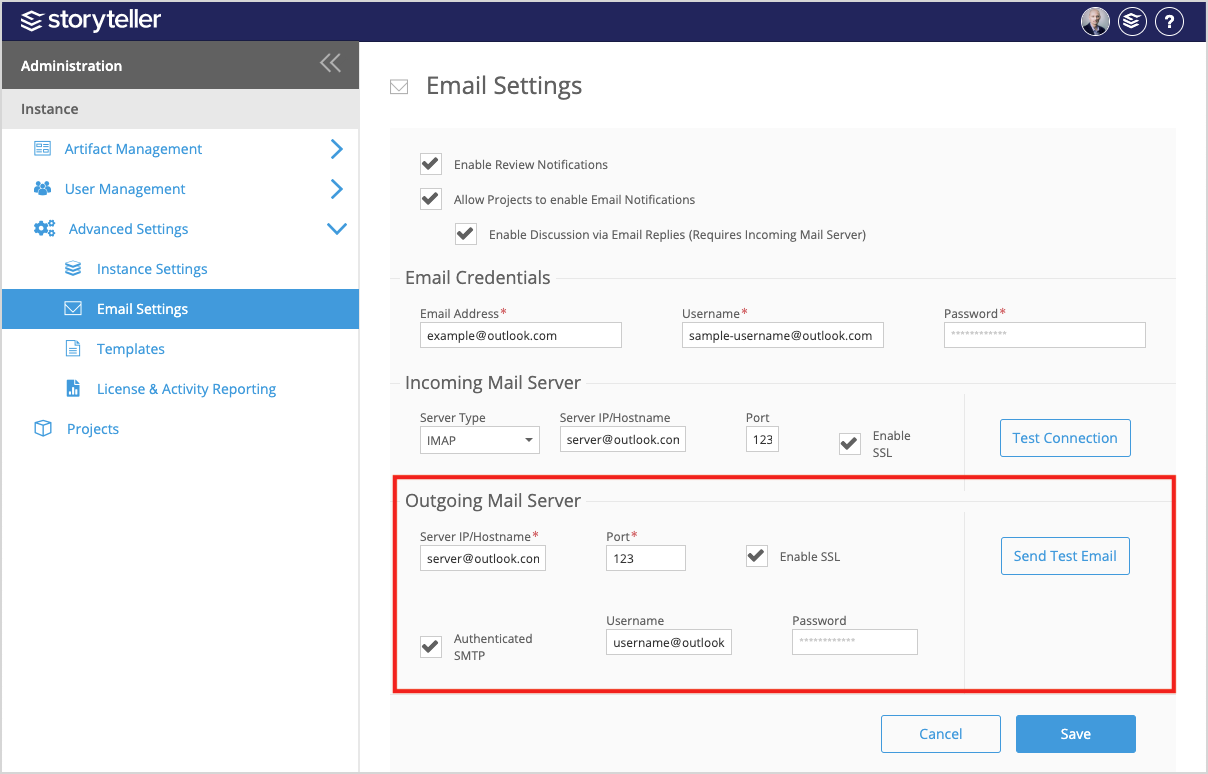
In the Outgoing Mail Server section, enter the following information:
Server IP / Hostname: Defines the IP address or hostname of your SMTP server
Port: Defines the port number of your SMTP server
Enable SSL: Defines whether or not the SMTP server requires SSL
Authenticated SMTP: Defines whether or not SMTP authentication is required. If authentication is required, select this option and enter a valid user name and password.
Username: Defines the username of a user with access to the SMTP server. This user name can be different from the user name provided in the Email Credentials section.
The SMTP username is sometimes, but not always, the email address of the user. The format of the username is dependent on the server configuration.
Password: Defines the password of the user
Click Send Test Email to verify that emails can be sent successfully.