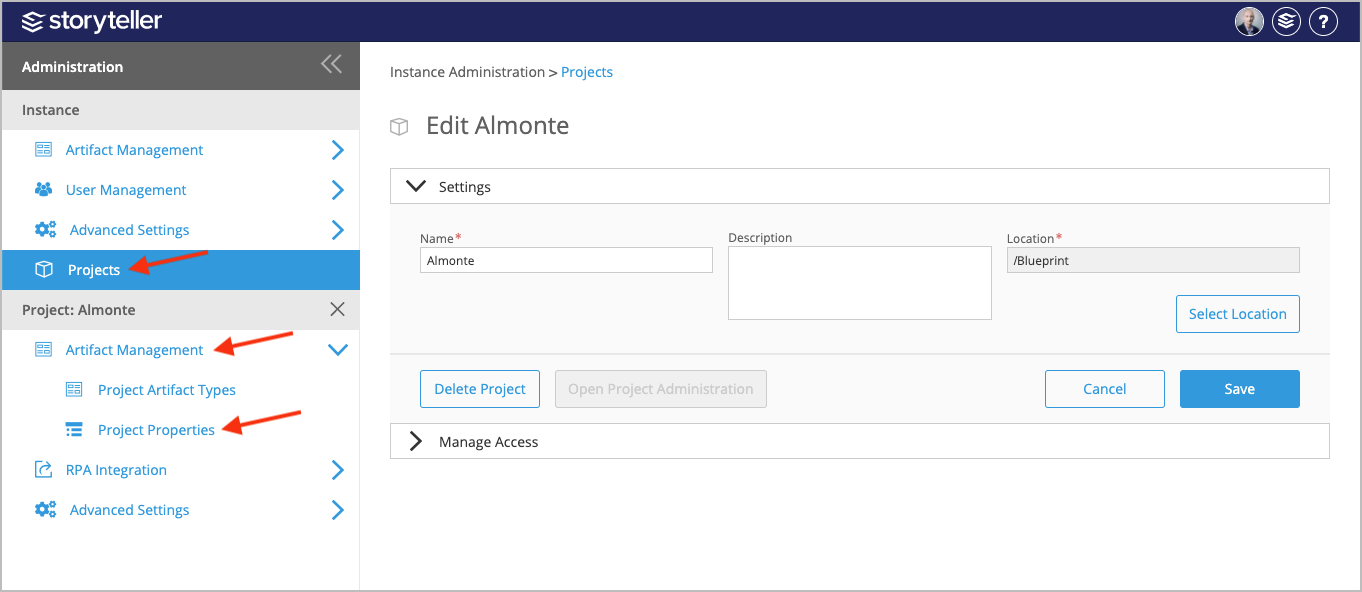
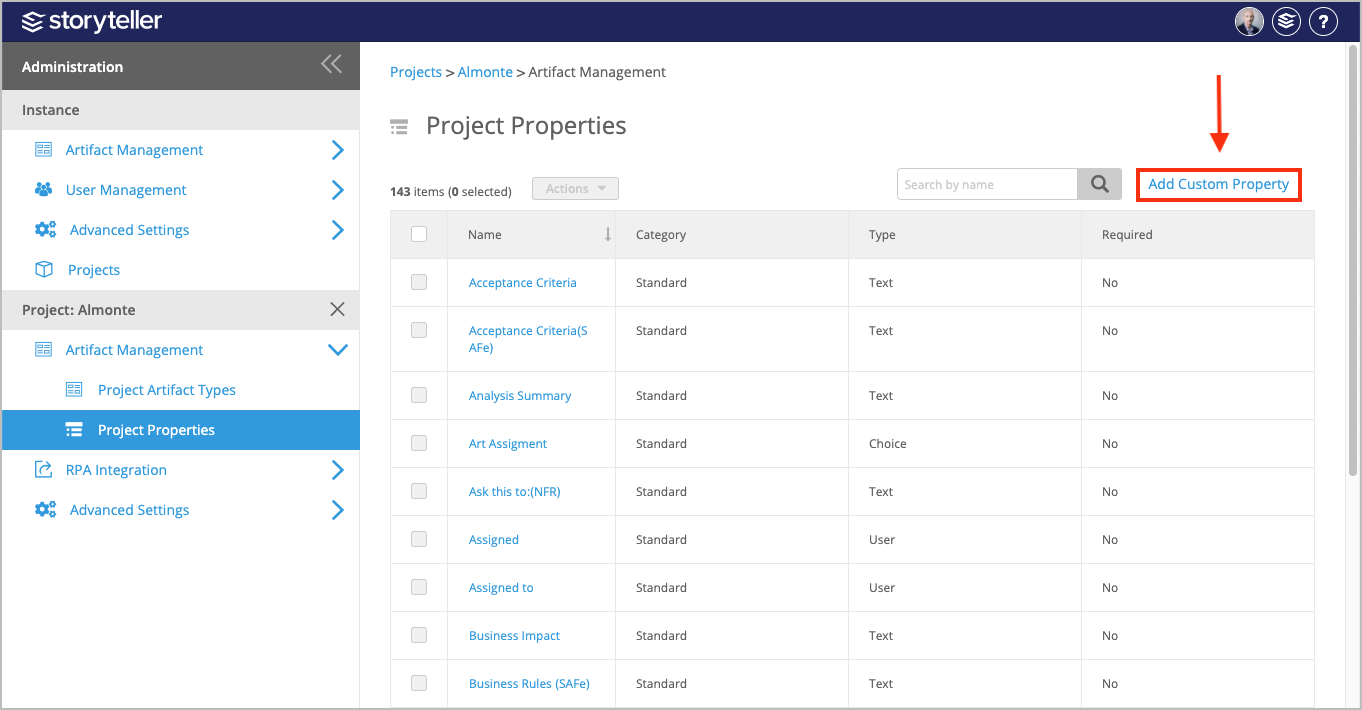
To add a Custom Property, select the project of interest in the Administration Portal. Click Artifact Management under Projects and select Project Properties. Click Add Custom Property, enter a name, select the type of property, and define the settings.
Project administrators with the corresponding privileges can create Custom Properties to meet the needs of specific projects, providing you with significant flexibility in the way you can add descriptive data to a project in Blueprint.
To add Custom Properties in the Administration Portal, users must have the "Manage Project Configuration" privilege in their Project Administration role. For more information on Project Administrator Roles, see the Manage Project Administrator Roles article.
To add a Custom Property:
In the Administration Portal, click Projects and select the project you want to create a Custom Property for. For information on how to access the Admin Portal, see the About the Administration Portal article.
Under Projects, clickArtifact Management and select Project Properties.
Click Add Custom Property.
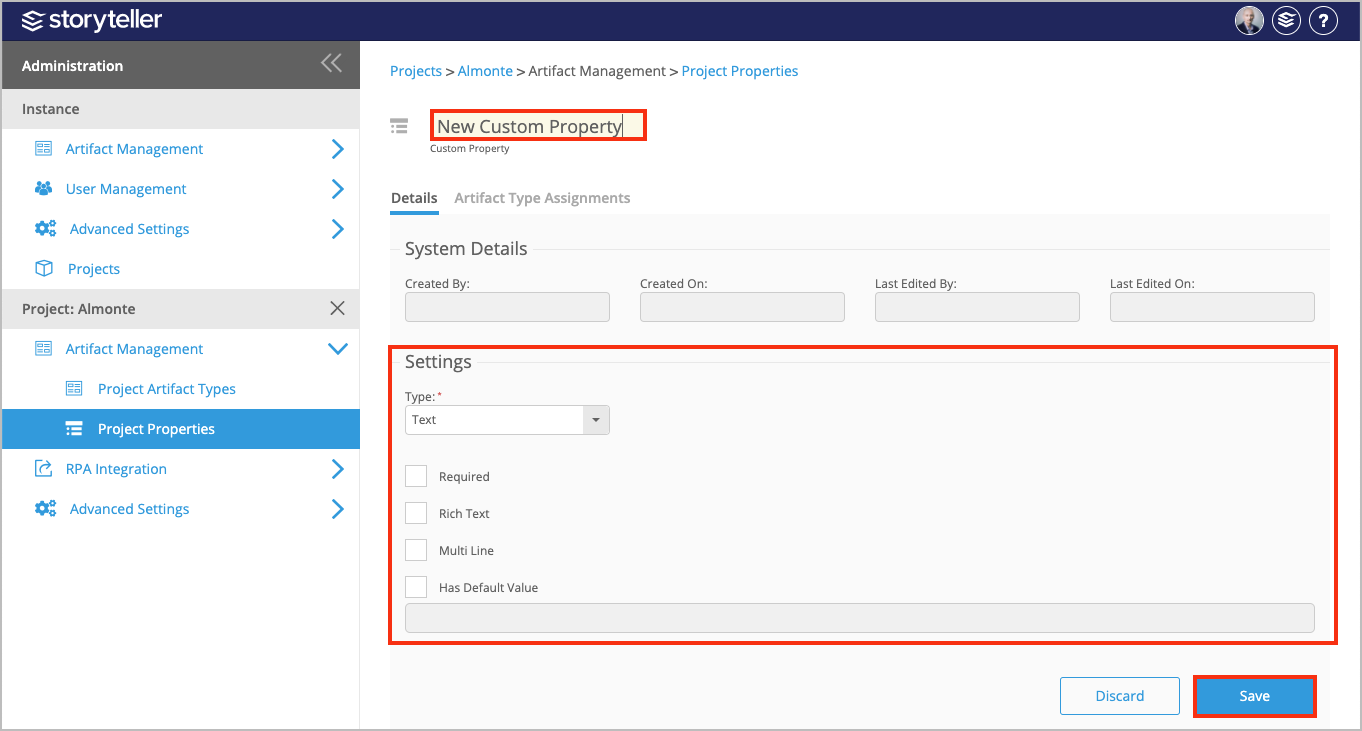
In the page displayed:
Click the default name in the header and enter a new name for the new Custom Property you are creating.
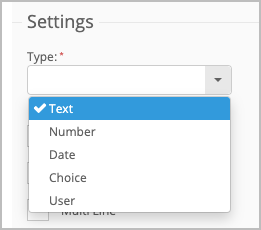
Select the type of Custom Property you want to create in the Type field.The Custom Property types available are: Text, Number, Date, Choice, User. The resulting settings that you can configure vary depending on the type of property you select.
In the Settings section, configure the settings for your Custom Property like whether it is a required field or has a default value. To add valid values for Choice type properties, see the Add Valid Values for a Choice Type Custom Property article.