Edit User Inputs to Project-level Office Document Templates
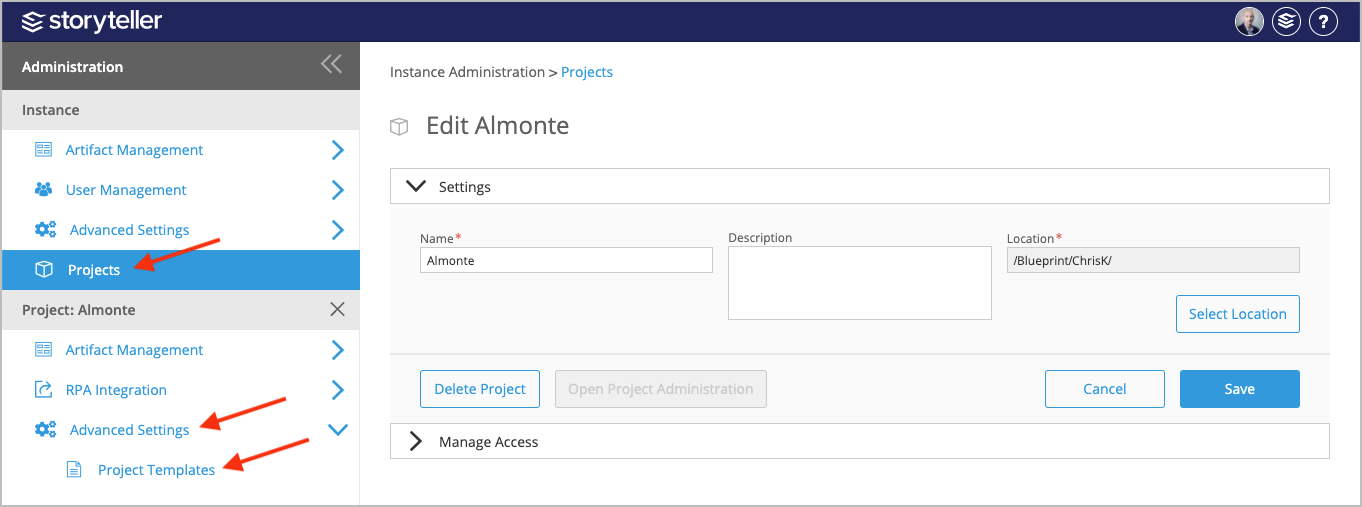
To edit user inputs for a project-level Office Document Template, click Projects and then select the project of interest in the Admin Portal. Under Projects, click Advanced Settings and then select Project Templates. Click the Project Template of interest and edit user inputs as needed.
As a project administrator with the corresponding privileges, you can modify custom inputs that your users can inject in a project-level Office Document Template that they generate. This gives you the ability to re-order or add information to existing user inputs on Office Document Templates.
To edit user inputs for project-level Office Document Templates in the Administration Portal, users must have the "Manage Project Configuration" privilege in their Project Administrator Role. For more information on Project Administrator Roles, see the Manage Project Administrator Roles article.
To edit user inputs for project-level Office Document Templates:
- In the Administration Portal, click Projects and select the project with the project-level Office Document Template you want to edit user inputs for.
For information on how to access the Admin Portal, see the About the Administration Portal article. - Under Projects, click Advanced Settings and select Project Templates.
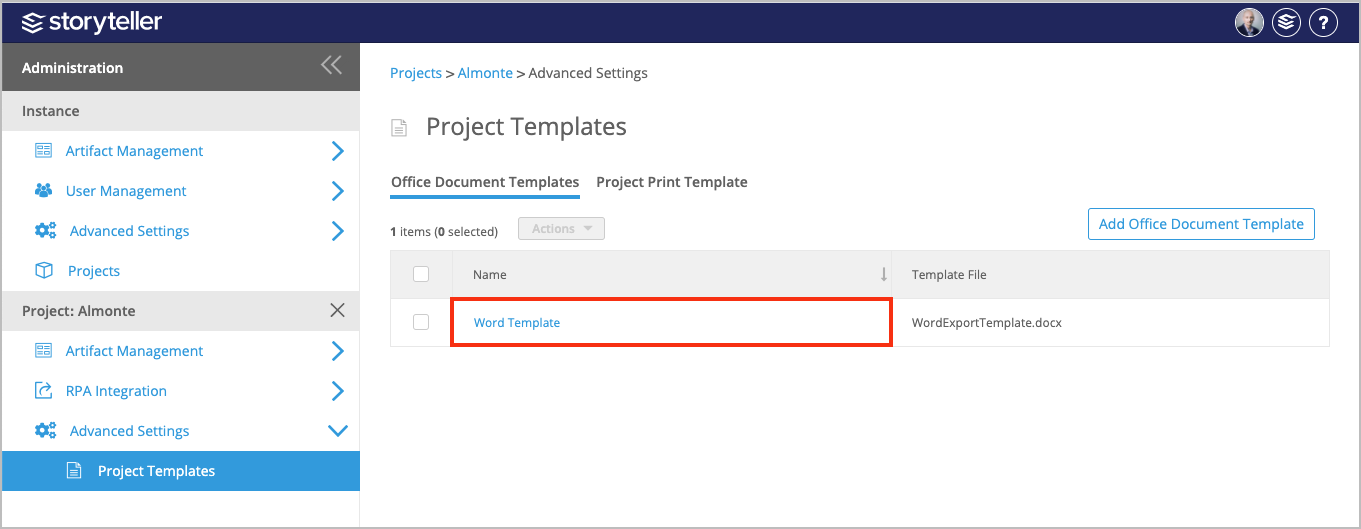
- On the Project Templates page, click the template you want to edit user inputs for.
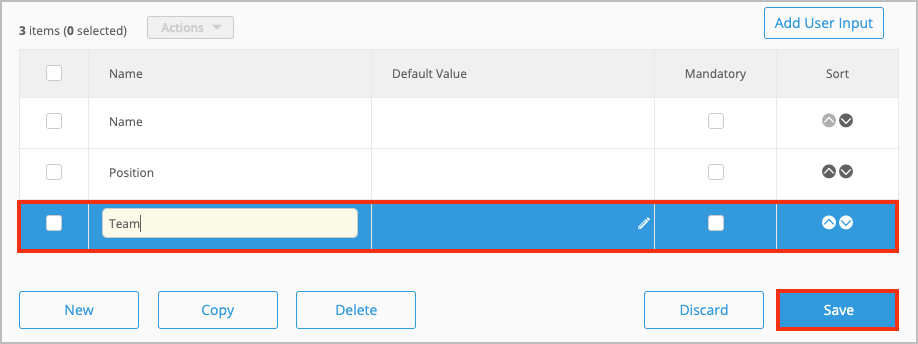
- Edit the user input accordingly in the following fields:
- Click the edit icon in the Name column and edit the name as needed.
- If you want to define a default value or edit the existing one, click the edit icon in the Default Value column and enter your value as needed.
- Select the checkbox in the Mandatory column to make the value required.
- You can order inputs accordingly by clicking the directional arrows in the Order column.
- Click Save.
How did we do?
Add User Inputs to Project-level Office Document Templates
Delete User Inputs for Project-level Office Document Templates